What is the Miyawaki method?
This is a technique of quick afforestation that was introduced by Akira Miyawaki, a Botanist from Japan. It enables greening of spaces through establishment of pocket forests in small spaces.

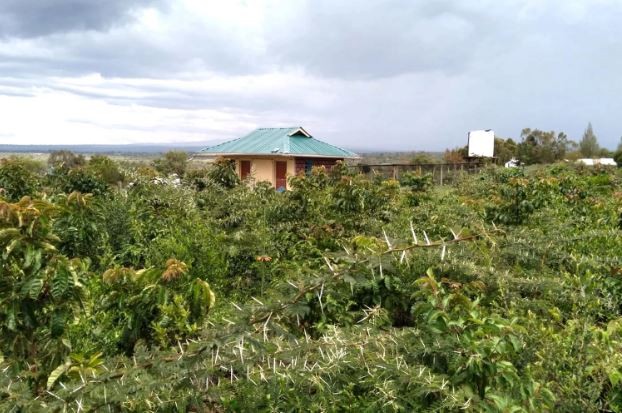
Miti Alliance; 18 month old Miyawaki Forest
Why afforest using Miyawaki Technique?
- Trees grow 10 times faster : seedlings compete for nutrients and sunlight
- The forest is 30 times denser compared to natural forests.
- The technique introduces more biodiversity
- It is 100% natural
- The technique enables greening of urban areas
Key requirements for establishment of a Miyawaki Forest
1.A variety of native tree & bush species
- When doing a Miyawaki forest, you are required to plant native/indegenous vegetation as these are naturally adapted to the environmental conditions, increasing their survival rate.
2. Proper Land preparation
- Digging up the entire area of planting is done to soften the soil while organic matter is added to the soil to introduce micro organisms and add air spaces.
- An earthmover is required for this process to be able to dig up efficiently 1m deep, mix the soil with compost and return it.

3. Mulching
Thorough mulching is done to cover the soil after planting inorder to conserve moisture.
STAGES TO FOLLOW TO GROW A MIYAWAKI FOREST
Step 1. Identify the area of planting
- Carry out a site inspection to determine the project feasibility. The allocated area needs to have a fence, access to sunlight, water and a caretaker to manage the forest.
- Ensure that there’s enough space for storage of seedlings prior to planting and easy access for earthmover while digging up.
- Mark the area of planting with limestone powder for the earthmover to dig up.
STEP 2. Select Native Tree Species

- Select tree species from the local nurseries as they are highly adapted to the weather conditions therefore have an increased survival rate.
- Make a database with the names of the available species for record keeping
- Acquire the species from local nurseries, while assigning them according to the forest layer; Canopy, Tree Layer and Shrub . The three trees species are of equal ratio
STEP 3. Soil Preparation
Carry out a soil assessment test to determine the components and nutrients in the soil.
Add the following:
- Soil perforator: This will create air spaces in the soil allowing the roots to grow quickly. Examples of materials to be added; rice husks, wheat husks etc.
- Water Retainer to enable the soil to hold moisture eg. Coco peat, Absorber or Soil Ammender.
- Organic Manure to add nutrients to the soil.
- Mulch to protect the soil from direct sunlight.
Dig up the designated area with an earthmover upto 1m depth, mix the soil with the components mentioned above, then put back the soil and spread evenly.
STEP 4. Planting the trees
- Distribute the trees according to their forest layer(canopy,tree layer and shrub).
- Plant the 3 to 5 trees in 1m2 alternating the different species.
- Avoid planting the similar species seedlings next to each other so as to increase biodiversity.
- Support the trees planted with sticks
- Mulch the trees after planting
STEP 5. Maintenance
- Water the trees once a day for the first 2-3 years.
- Monitor the growth of the trees and replace the seedlings which dry up.
- Remove the weeds which grow as they compete with the seedlings for nutrients.
And Finally….
Watch your Pocket Miyawaki Forest grow!
